Using Octopus Authentication for Microsoft Exchange enhances security when accessing a critical infrastructure of the organization (email) via the web, and also significantly improves the experience of end users. Secret Double Octopus allows users to authenticate using one of the following methods:
Username, password and Octopus Authentication for Exchange as second factor
Username and Octopus Authentication for Exchange as multi-factor authentication
Multi-factor authentication (MFA) is supported for Outlook Web Access (OWA) and ActiveSync. Use of MFA can be enabled and disabled in the Octopus Management Console, according to the Check Password parameter in the Active Directory Authentication service settings.
This document provides step-by-step instructions for setting up Octopus Authentication for Exchange. The process involves the following stages:
Creating the AD Authentication Service in the Octopus Management Console
Performing authentication on mobile devices or browsers
IMPORTANT:
- The Octopus for Exchange agent needs to be reinstalled after every server update.
- Before uninstalling the Exchange agent, stop the IIS service.
Prerequisites
Before beginning, make sure you have:
Octopus Authentication Server version 6.8.7 (or higher) installed and operating
A corporate Exchange server with user mailboxes and OWA access, and ActiveSync for mobile mail
Note: Octopus Authentication for Exchange supports Exchange Servers 2012 and higher.
Follow the procedure below to create and configure an Active Directory Authentication service in the Octopus Management Console.
To create the AD Authentication service:
From the Management Console, open the Services menu and click Add Service.
In the Active Directory Authentication tile, click Add.
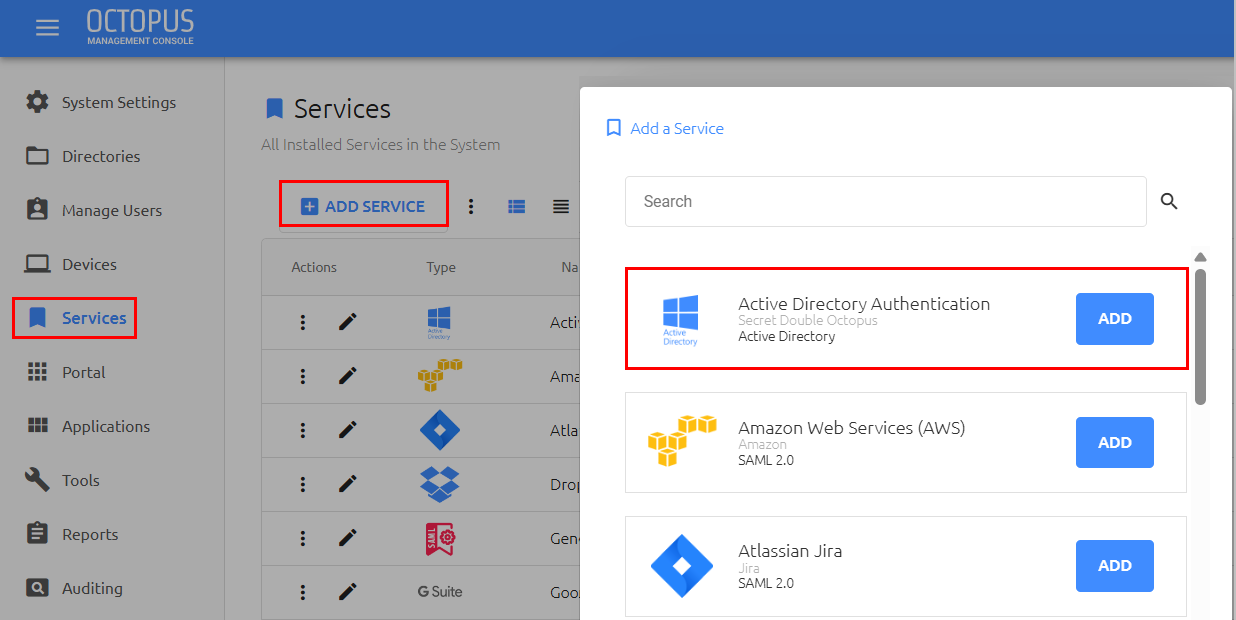
Then, in the popup that opens, click Create.
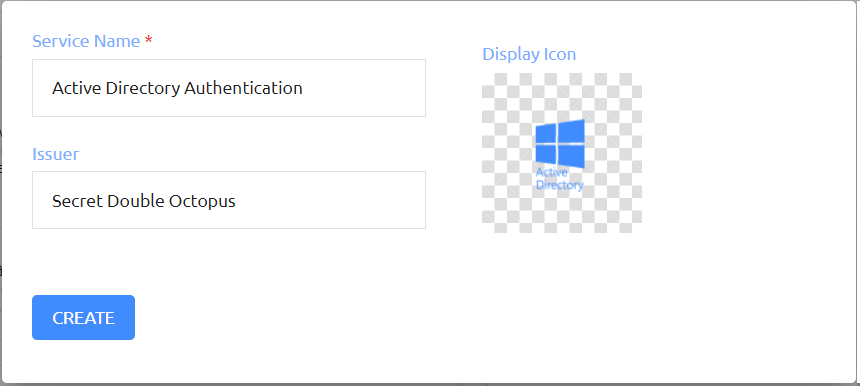
The General Info tab opens.
If desired, change the default values for Service Name and Issuer, and/or enter notes about the service in the Description field. To change the default logo, click the tile and navigate to the file you want to upload. Supported image size is 128x128 pixels.
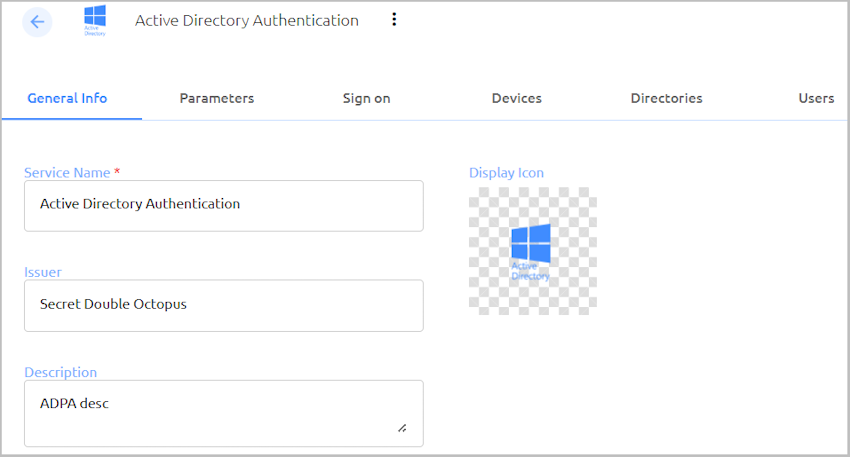
Click Save after making any changes.
Open the Parameters tab. Specify the identifier(s) that users will send for the authentication by opening the Login Identifier list and selecting the relevant checkbox(es).
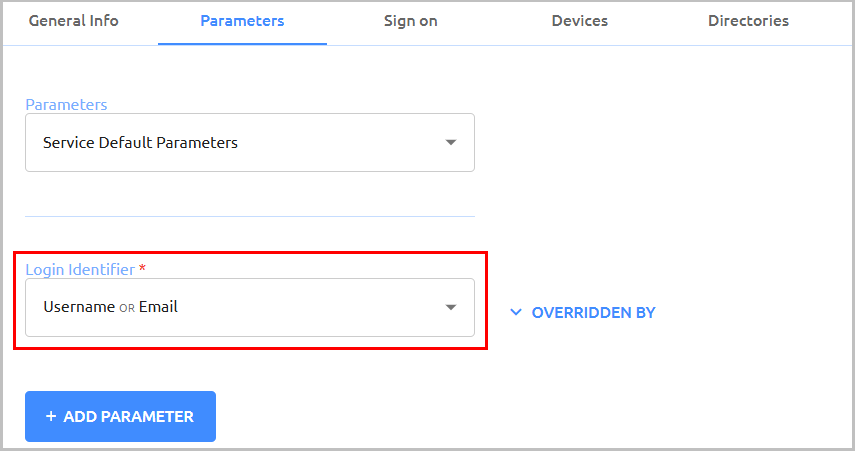
Then, click Save.
Open the Sign on tab, and configure the following settings:
Parameter
Description/Notes
Bypass Unassigned Users
When this toggle is enabled, users who are not assigned to the service will be allowed to login with username and password (without MFA). By default, this option is disabled, and unrecognized users are refused authentication. Bypass Unassigned Users is generally used on a temporary basis only, during gradual rollouts of Octopus Authenticator.
Bypass Unenrolled Users
When enabled, users who are known to the system but have not yet enrolled a mobile device or workstation will be allowed to login with username and password (without MFA).
Sign on Method
Authentication method used for the service.
Endpoint URL
Access URL from the AD client to the Octopus Authentication server.
Service Keys
This is used to identify the service that is used and will be part of the parameters required for the OWA agent to connect to the Octopus Authentication server.
Authentication token timeout
The time period after which the authentication token becomes invalid. The value can range from one minute to one year.
Rest Payload Signing Algorithm
Signature of the generated X.509 certificate. Select SHA-1 or SHA-256.
Note: SHA-1 is not supported for Red Hat Enterprise Linux 9.3.
X.509 Certificate
The public certificate used by the service to authenticate with Octopus Authenticator.
Custom Message
The message that is shown to the user upon successful authentication.
VDI
When this toggle is enabled, authentication to VDI desktops is supported. For more information, refer to the Octopus Management Console Admin Guide.
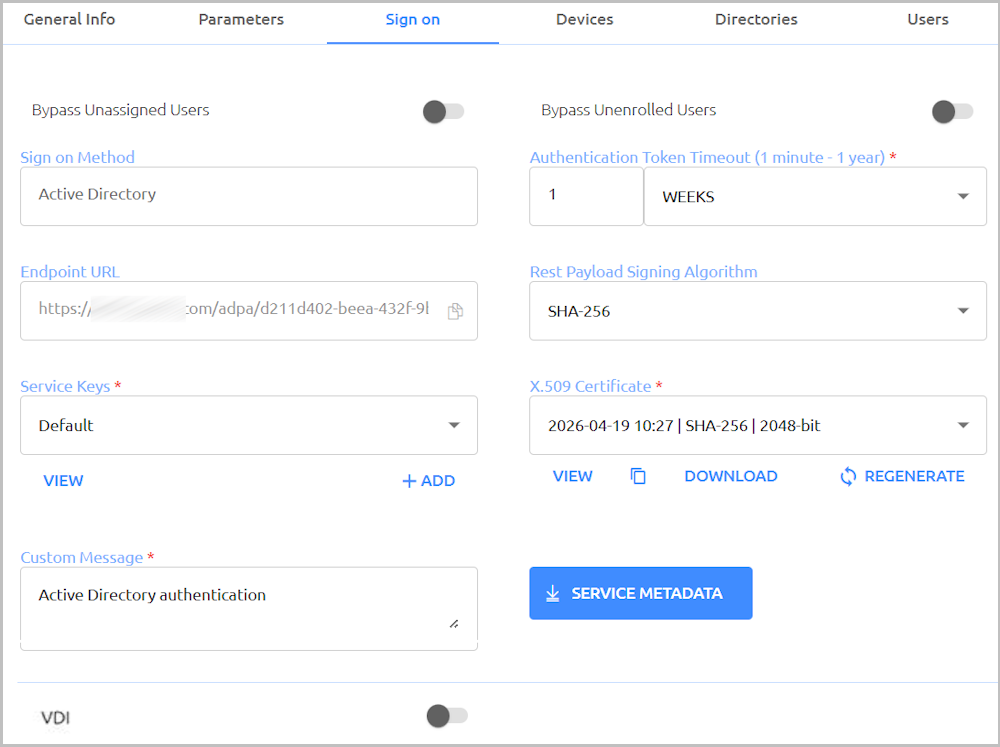
Clicking Service Metadata downloads all data configured for the service to a file format (XML) that can be used by the Active Directory.
At the bottom of the Sign on tab, click Save.
In the Directories tab, select the directories that will be available for the service and click Save.
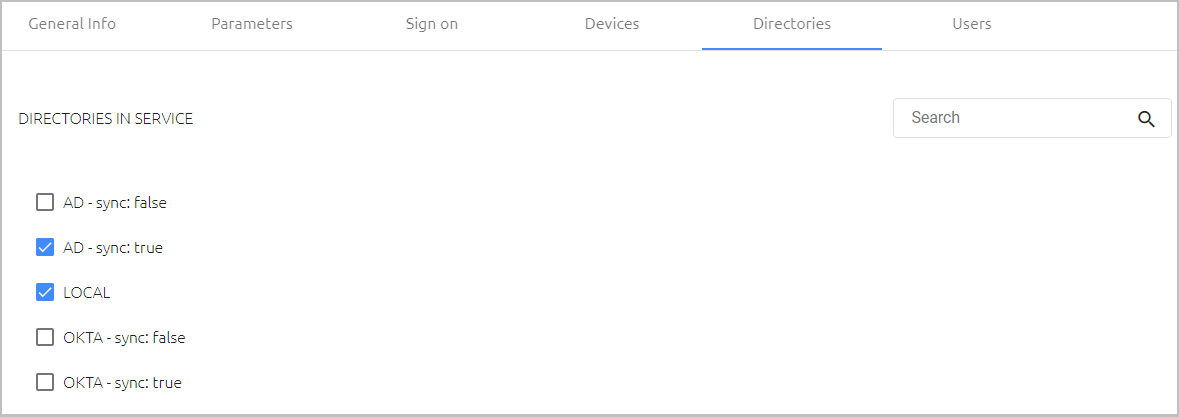
If you have not yet integrated an Active Directory, navigate to the Directories menu and add a directory. (For details, refer to the Octopus Management Console Admin Guide.)
Open the Users tab and click Add.
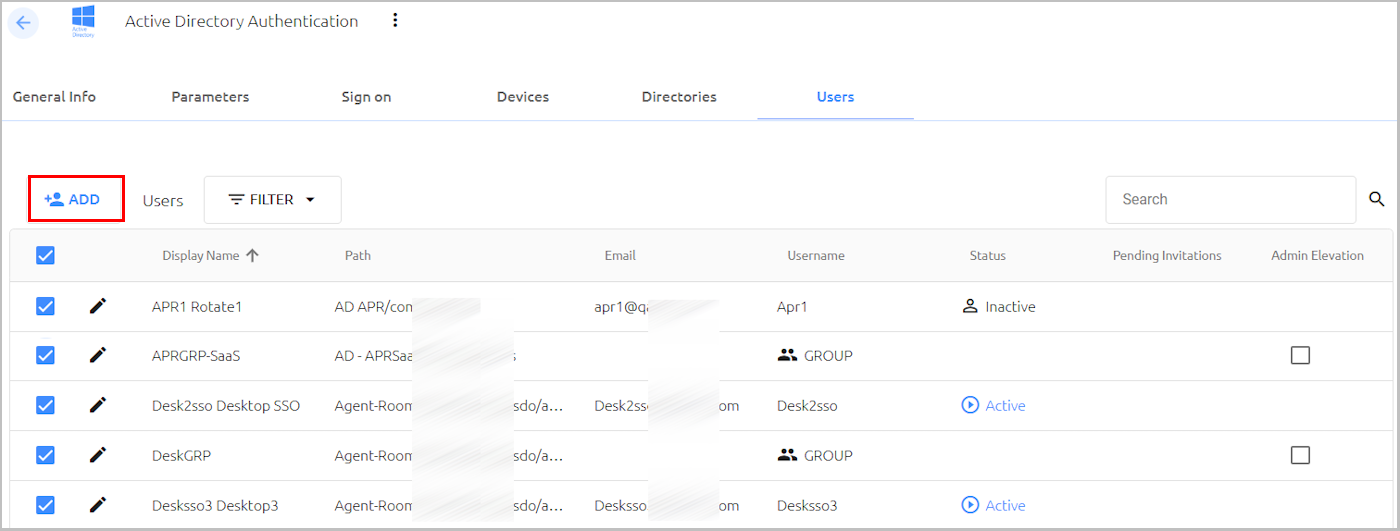
In the dialog that opens, select the users and groups you want to add to the service, and then click Save.
Save and publish your changes.
Enroll the selected users to Octopus Authenticator.
The Octopus for Exchange agent is installed directly on your enterprise Exchange server. If you have multiple Exchange Client Access Server (CAS) instances, the agent should be installed on all those servicing OWA or ActiveSync users that require Octopus Authentication.
Octopus Authentication for Exchange can run on Windows Server machines (Server 2012 and higher).
IMPORTANT: The Octopus for Exchange agent needs to be reinstalled after every server update.
To install Octopus Authentication for Exchange:
Copy the installation file (Octopus Authentication for Exchange) to the Exchange server.
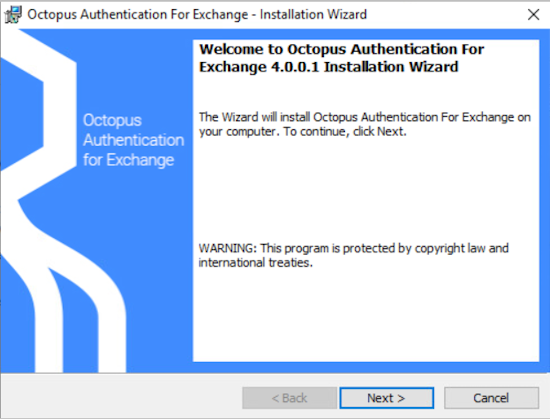
Run the installation file to open the wizard. On the Welcome page, click Next.
On the License Agreement page, accept the license agreement and then click Next.
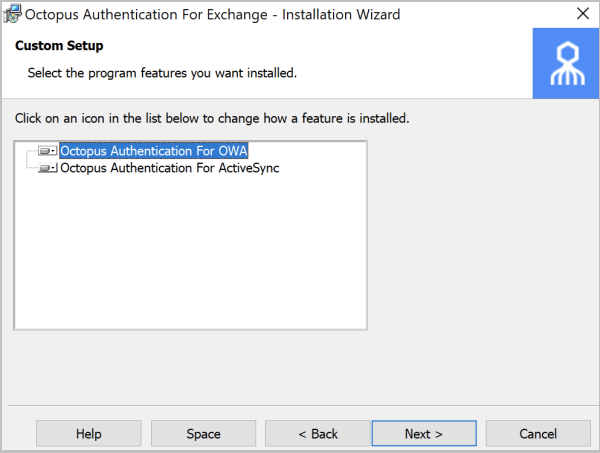
On the Custom Setup page, click Next.
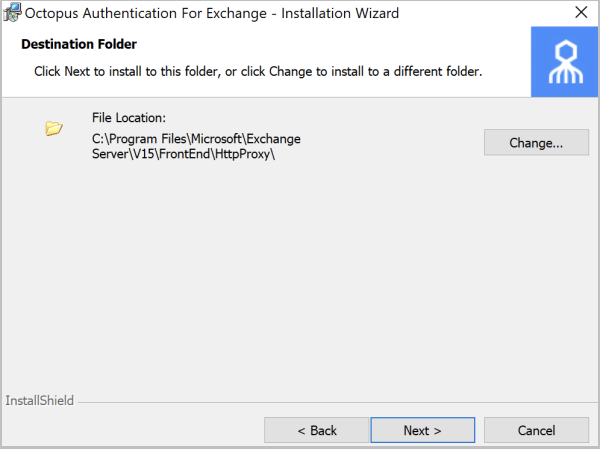
On the Destination Folder page, specify the location of the installation.
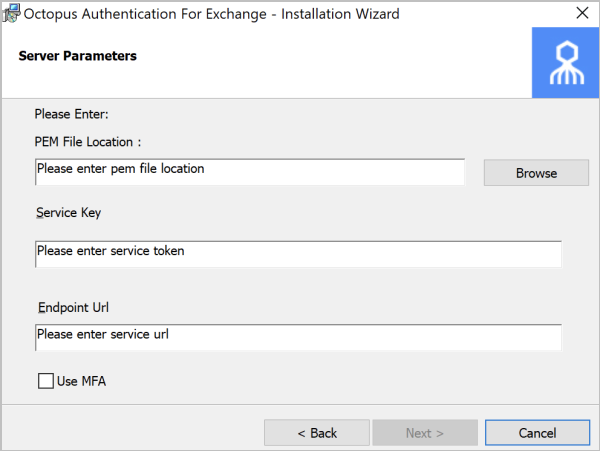
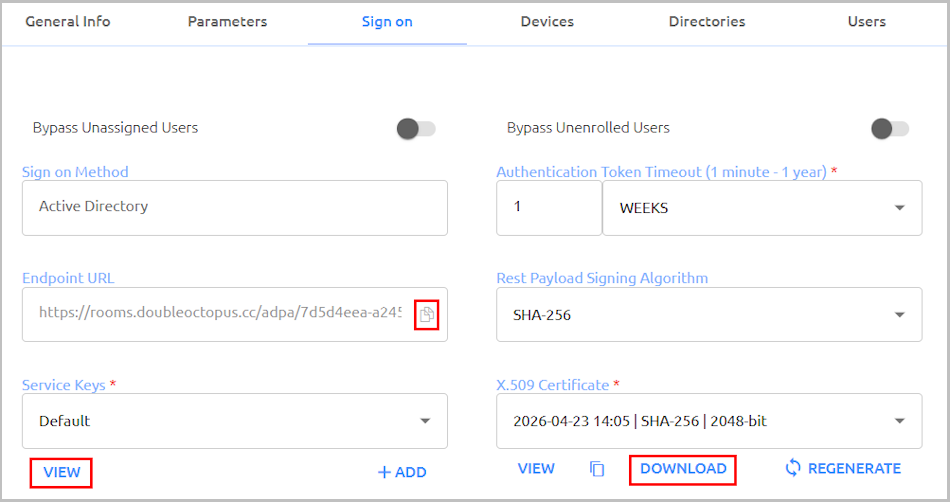
Configure the settings on the Service Parameters page. The values can be obtained from the Octopus Management Console, in the Sign on tab of your AD service settings (shown below).
PEM File: The X.509 certificate. Click Download to download the file.
Service Key: To copy the service key, click View. Then, in the popup that opens, click the Copy icon.
Endpoint URL: Click the Copy icon to copy the URL.
OPTIONAL: At the bottom of the Service Parameters page, select the Use MFA checkbox.
Click Next.
On the Exchange Parameters page, enter the period of time (in minutes) for which OWA will sustain an OWA browser session. (The default value is 30. The minimum value is 10.)
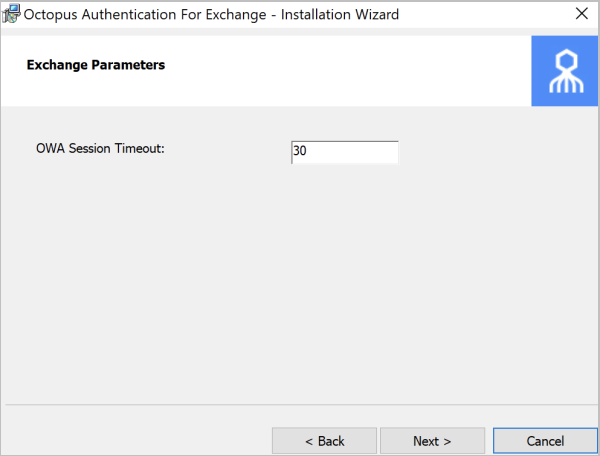
Then, click Next.
To begin installation, click Install.
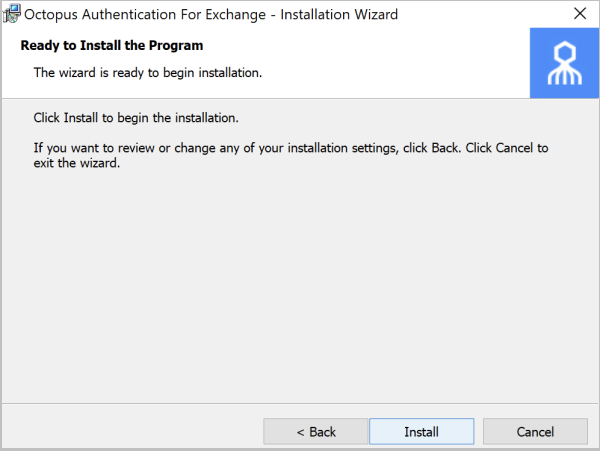
A confirmation message is displayed when installation is complete.
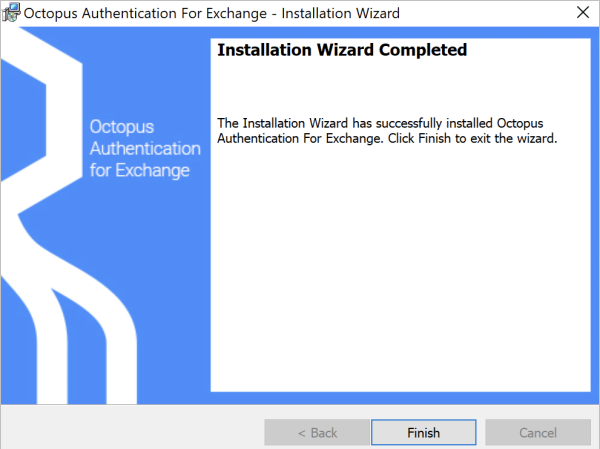
To exit the wizard click Finish.
To be able to log into an account via a mobile device, an Exchange account needs to be created on the phone. The following procedure shows how to do this, using an iPhone as an example.
To create an Exchange account:
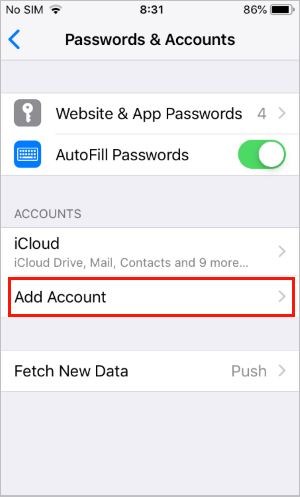
Open Settings and tap Passwords & Accounts.
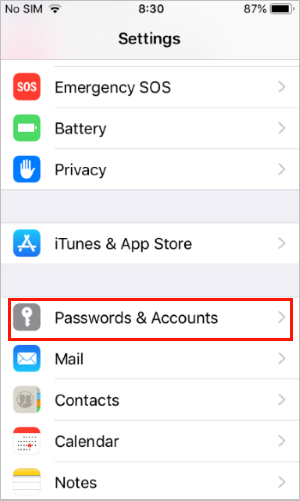
Tap Add Account.
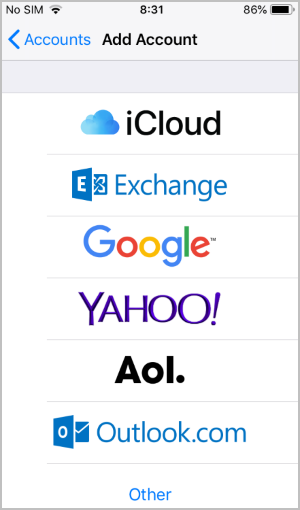
Select an account type, e.g., Exchange.
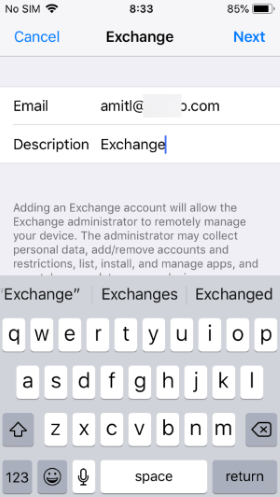
On the page that opens, complete all mandatory fields.
Paste the Octopus Authenticator Exchange Token in the Password field. You can copy it from the Secret Double Octopus app.
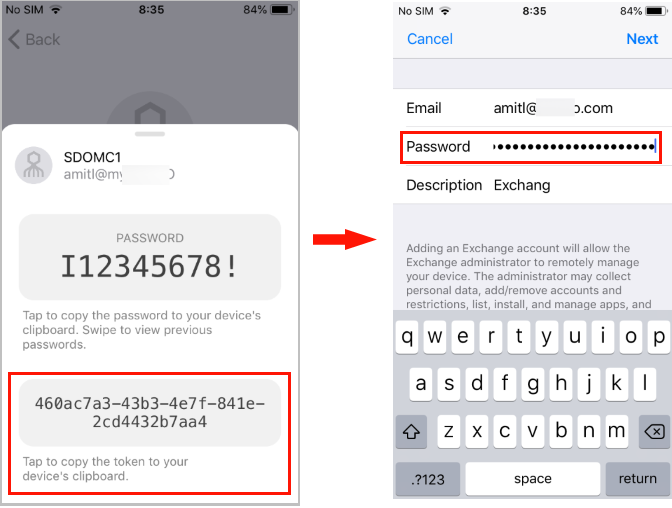
When the Exchange Token is entered in the Password field, users receive a push notification on the phone, and they are then able to log into the account.
Note: Users who are not enrolled in Octopus Authenticator can log into their accounts as they do normally, using a password.
Users who are enrolled with Octopus Authenticator do not need a password to log into OWA. These users should sign in by entering their <domain\username>, and typing a random character in the Password field.
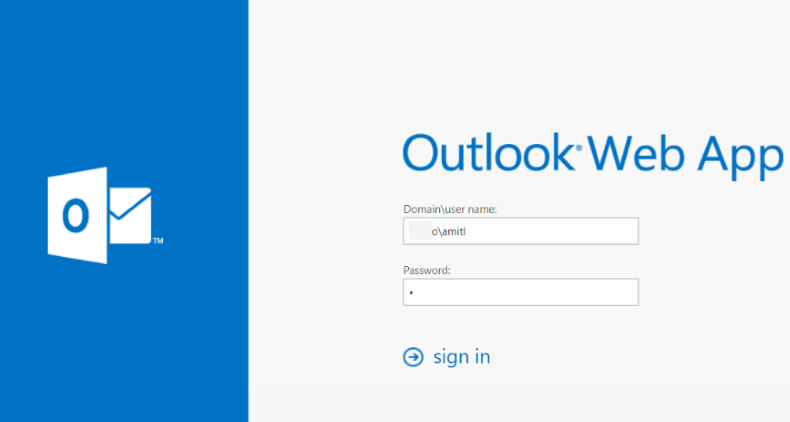
A push notification is then sent to their phone, and they are able to log into the account.
Users who are not yet enrolled with Octopus Authenticator should sign in as usual, using their <domain\username> and password.